Showing posts with label WEEK 9. Show all posts

Thursday, 28 May 2015

WEEK 9 DAY 4 - SURREAL CIRCUS

WEEK 9 DAY 4 - SURREAL CIRCUS

Your final weeks surreal assignment is to use the following skills to create the image below:
- using the LASSO TOOL clip around the animal in your image,
- press CNTL C to copy and CNTL V to paste, this will create a new layer with just your clipped animal
- use the LASSO TOOL to remove the background
- insert a circus theme background
- copy the animal at least 4 times
- re-colour each copy

Original

Photoshopped for this assignment


Tuesday, 26 May 2015

WEEK 9 - DAY 3 - Surreal continued ...

WEEK 9 - DAY 3 - Surreal continued ...

SAMPLE 2 - ADDING TEXTURE

STEP 1: Select and image from Friday's shoot preferably one with the fountain in the centre.

STEP 2:Incorporate an image of a manufactured object into the photo. Drag the layer into your selected image and clip out background, you will need to use the POLYGONAL LASSO TOOL to clip around the edges or you. Then remove the background behind the fountain.

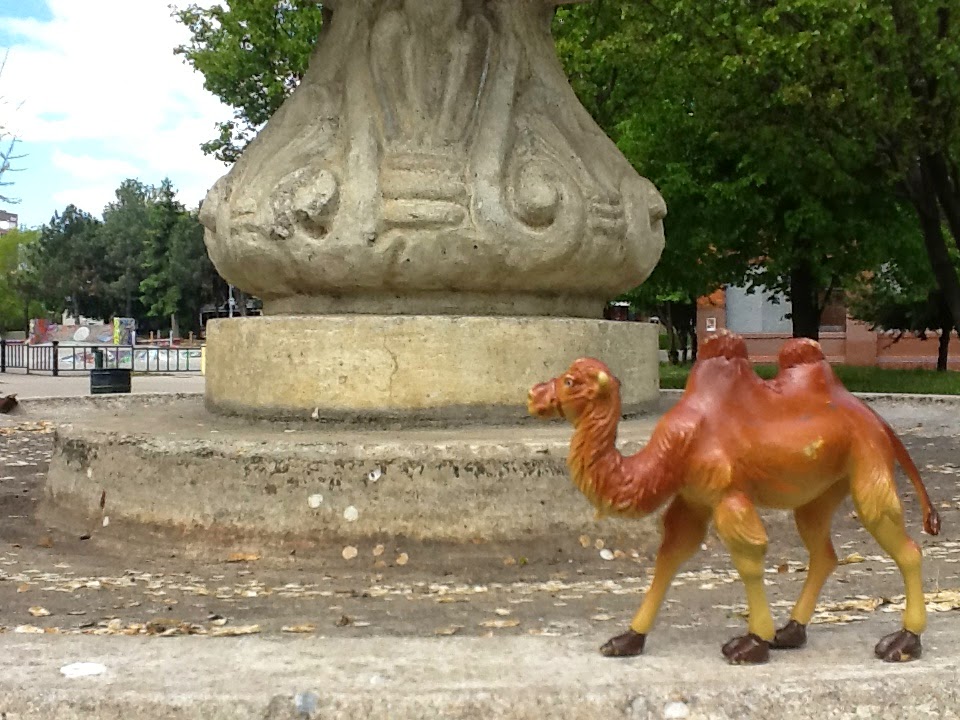
STEP 2: Do an Internet search and select 2 texture images and one sky image. Drag the layers into your fountain image. Use the MAGIC WAND TOOL and the SELECT-INVERSE to remove a section of the fountain so that the texture is showing through. Do the same with the plastic animal in the photo.

STEP 3: Add the sky layer as your new background layer, modify colour if necessary.


Sample


WEEK 9 - DAY 2 - SURREAL continued...

WEEK 9 - DAY 2 - SURREAL continued...

we are going to continue with the surreal project, sample

SAMPLE 1 - ADDING YOU
STEP 1: Select and image from Friday's shoot and incorporate an image of you (an existing or take an image) into the photo. Drag the layer into your selected image and clip out background, you will need to use the POLYGONAL LASSO TOOL to clip around the edges or you.
STEP 2: Use the SMART BRUSH TOOL to change the colours of objects in the image to look unrealistic.
STEP 3: Add a natural element to your image to increase the surreal feel of your image.



Monday, 25 May 2015

WEEK 9 - DAY 1 - SURREAL PHOTOGRAPHY

WEEK 9 - DAY 1 - SURREAL PHOTOGRAPHY

In one of the first lessons in this course we listened to a Eric Johansson speak about his process for photographing his surreal images. This week we are going to use the photos taken Friday to create our own surreal imagery.

Image by Eric Johansson

Image by Caras Ionut


On Friday's photo shoot we used props to incorporate objects into a photograph playing with proportion and scale. Some examples are shown below:


 ACTIVITY 1:
Using the Photoshop skills you have gained, you are going to add objects, or a person, into the friday's images to create a surreal landscape.

An example and demonstration will be given in class today.

SAMPLE 1 - ADDING YOU
STEP 1: Select and image from Friday's shoot and incorporate an image of you (an existing or take an image) into the photo. Drag the layer into your selected image and clip out background, you will need to use the POLYGONAL LASSO TOOL to clip around the edges or you.
STEP 2: Use the SMART BRUSH TOOL to change the colours of objects in the image to look unrealistic.
STEP 3: Add a natural element to your image to increase the surreal feel of your image.