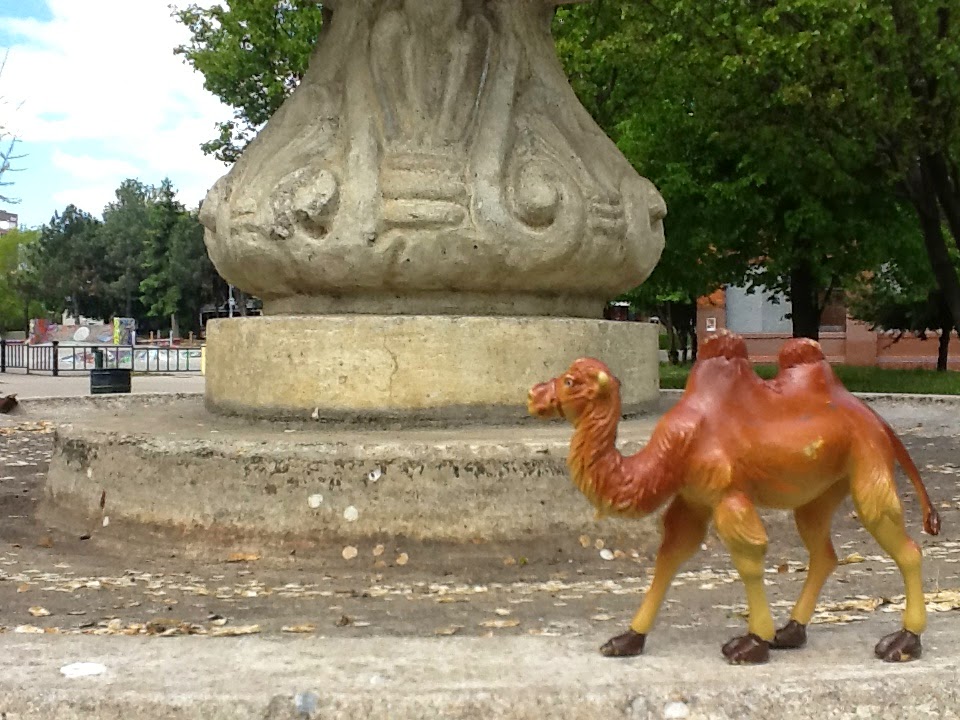
WEEK 10 - DAY 4 - FINAL
Access the shared photography folder for an example of the slide show you need to produce, the final result of what you need to produce looks like this:
Wednesday, 3 June 2015
WEEK 10 - DAY 3 - FINAL
Access the shared photography folder for an example of the slide show you need to produce, the final result of what you need to produce looks like this:
Tuesday, 2 June 2015
WEEK 10 - DAY 2 - FINAL
Access the shared photography folder for an example of the slide show you need to produce, the final result of what you need to produce looks like this:
Monday, 1 June 2015
WEEK 10 - DAY 1 - FINAL
Access the shared photography file for an example of the slide show you need to produce, the final result of what you need to produce looks like this:
Thursday, 28 May 2015
WEEK 9 DAY 4 - SURREAL CIRCUS
Your final weeks surreal assignment is to use the following skills to create the image below:
Original
Photoshopped for this assignment
Your final weeks surreal assignment is to use the following skills to create the image below:
- using the LASSO TOOL clip around the animal in your image,
- press CNTL C to copy and CNTL V to paste, this will create a new layer with just your clipped animal
- use the LASSO TOOL to remove the background
- insert a circus theme background
- copy the animal at least 4 times
- re-colour each copyOriginal
Photoshopped for this assignment
Tuesday, 26 May 2015
WEEK 9 - DAY 3 - Surreal continued ...
SAMPLE 2 - ADDING TEXTURE
STEP 1: Select and image from Friday's shoot preferably one with the fountain in the centre.
STEP 2:Incorporate an image of a manufactured object into the photo. Drag the layer into your selected image and clip out background, you will need to use the POLYGONAL LASSO TOOL to clip around the edges or you. Then remove the background behind the fountain.
STEP 2: Do an Internet search and select 2 texture images and one sky image. Drag the layers into your fountain image. Use the MAGIC WAND TOOL and the SELECT-INVERSE to remove a section of the fountain so that the texture is showing through. Do the same with the plastic animal in the photo.
STEP 3: Add the sky layer as your new background layer, modify colour if necessary.
Sample
SAMPLE 2 - ADDING TEXTURE
STEP 1: Select and image from Friday's shoot preferably one with the fountain in the centre.
STEP 2:Incorporate an image of a manufactured object into the photo. Drag the layer into your selected image and clip out background, you will need to use the POLYGONAL LASSO TOOL to clip around the edges or you. Then remove the background behind the fountain.
STEP 2: Do an Internet search and select 2 texture images and one sky image. Drag the layers into your fountain image. Use the MAGIC WAND TOOL and the SELECT-INVERSE to remove a section of the fountain so that the texture is showing through. Do the same with the plastic animal in the photo.
STEP 3: Add the sky layer as your new background layer, modify colour if necessary.
Sample
WEEK 9 - DAY 2 - SURREAL continued...
we are going to continue with the surreal project, sample
SAMPLE 1 - ADDING YOU
STEP 1: Select and image from Friday's shoot and incorporate an image of you (an existing or take an image) into the photo. Drag the layer into your selected image and clip out background, you will need to use the POLYGONAL LASSO TOOL to clip around the edges or you.
STEP 2: Use the SMART BRUSH TOOL to change the colours of objects in the image to look unrealistic.
STEP 3: Add a natural element to your image to increase the surreal feel of your image.
we are going to continue with the surreal project, sample
SAMPLE 1 - ADDING YOU
STEP 1: Select and image from Friday's shoot and incorporate an image of you (an existing or take an image) into the photo. Drag the layer into your selected image and clip out background, you will need to use the POLYGONAL LASSO TOOL to clip around the edges or you.
STEP 2: Use the SMART BRUSH TOOL to change the colours of objects in the image to look unrealistic.
STEP 3: Add a natural element to your image to increase the surreal feel of your image.
Monday, 25 May 2015
WEEK 9 - DAY 1 - SURREAL PHOTOGRAPHY
In one of the first lessons in this course we listened to a Eric Johansson speak about his process for photographing his surreal images. This week we are going to use the photos taken Friday to create our own surreal imagery.
On Friday's photo shoot we used props to incorporate objects into a photograph playing with proportion and scale. Some examples are shown below:
ACTIVITY 1:
Using the Photoshop skills you have gained, you are going to add objects, or a person, into the friday's images to create a surreal landscape.
An example and demonstration will be given in class today.
SAMPLE 1 - ADDING YOU
STEP 1: Select and image from Friday's shoot and incorporate an image of you (an existing or take an image) into the photo. Drag the layer into your selected image and clip out background, you will need to use the POLYGONAL LASSO TOOL to clip around the edges or you.
STEP 2: Use the SMART BRUSH TOOL to change the colours of objects in the image to look unrealistic.
STEP 3: Add a natural element to your image to increase the surreal feel of your image.
In one of the first lessons in this course we listened to a Eric Johansson speak about his process for photographing his surreal images. This week we are going to use the photos taken Friday to create our own surreal imagery.
Image by Eric Johansson
Image by Caras Ionut
On Friday's photo shoot we used props to incorporate objects into a photograph playing with proportion and scale. Some examples are shown below:
Using the Photoshop skills you have gained, you are going to add objects, or a person, into the friday's images to create a surreal landscape.
An example and demonstration will be given in class today.
SAMPLE 1 - ADDING YOU
STEP 1: Select and image from Friday's shoot and incorporate an image of you (an existing or take an image) into the photo. Drag the layer into your selected image and clip out background, you will need to use the POLYGONAL LASSO TOOL to clip around the edges or you.
STEP 2: Use the SMART BRUSH TOOL to change the colours of objects in the image to look unrealistic.
STEP 3: Add a natural element to your image to increase the surreal feel of your image.
Thursday, 21 May 2015
WEEK 8 - DAY 4 - Photographic Compositions Photoshoot
Today we will be meeting outside room 4 to take a short walk to a few sites to practice taking photos using the 5 photographic composition elements discussed in yesterdays class.
· rule of thirds
· rule for placing the horizon line
· rule for leaning into the action
· rule for following the lines of the image
· rule for pattern and texture
WEEK 8 - DAY 3 - PHOTOGRAPHIC COMPOSITION
·
rule of thirds
·
rule for placing the horizon line
·
rule for leaning into the action
·
rule for following the lines of the image
·
rule for pattern and texture
Click the following link to see examples:
http://www.nikonusa.com/en/Learn-And-Explore/Article/h7dfrceh/5-easy-composition-guidelines.html
ACTIVITY 1:
Step 1: Using the 5 basic rules of photography, go to
Getty images and select at least 2 images that represent each rule of
photography.
Step 2: Create a 6 page Google slideshow with a title
page and 10 images you selected, each subsequent page displaying the 5 rules of
composition. See sample in Google drive shared class folder.
Wednesday, 20 May 2015
WEEK 8 - DAY 1 - Classics Continued
Continue working on your 3 classics
WEEK 7 - DAY 4 - CLASSIC PORTRAITS cont...
You will continue working on your 3 classic portraits.
Additional Photoshop demonstration on how to make skin tone will be given in class.
You will continue working on your 3 classic portraits.
Additional Photoshop demonstration on how to make skin tone will be given in class.
Wednesday, 13 May 2015
WEEK 7 - DAY 3 - CLASSICS PORTRAITS PHOTOSHOPPED
To finish this unit on portraits we are going to listen to a Russian photographer Uldus Bakhtiozina and the work she is doing to change stereotypes using her photographs.
https://www.ted.com/talks/uldus_bakhtiozina_wry_photos_that_turn_stereotypes_upside_down?language=en
ASSIGNMENT 1:
In the next assignment you are going to use classic Baroque, Victorian or Renaissance portraits and photoshop them to include your face.
STEP 1:
Select at least 3 classic painting portraits from the Baroque, Victorian or Renaissance era to use as your base.
STEP 2:
Take photos to duplicate portraits of the light, shadow and angles of the image you want to photoshop.
Tuesday, 12 May 2015
Monday, 11 May 2015
WEEK 7 - DAY 1
WEEK 7 - DAY 1 - MIDTERM
The midterm assignment for this course involves creating the following using your portrait.
- download portrait, leaf and line drawing of vine
- open both in Photoshop
- drag line drawing into portrait file
- on line drawing layer - remove background
- on line drawing layer - CNTRL select to select outline of image, EDIT - FILL SELECTION - PATTERN
- on portrait layer remove background
The midterm assignment for this course involves creating the following using your portrait.
- download portrait, leaf and line drawing of vine
- open both in Photoshop
- drag line drawing into portrait file
- on line drawing layer - remove background
- on line drawing layer - CNTRL select to select outline of image, EDIT - FILL SELECTION - PATTERN
- on portrait layer remove background
Thursday, 7 May 2015
WEEK 6 - DAY 4 - Graffiti and Portraits
A French artist by the name of JR has incorporated portraits and graffiti into an art project in the attempts to change perceptions. Watch the following Ted Talks.
Answer the following questions:
1. Why do you think JR choose to depict the street gang members and the Israeli and Palestinian workers with goofy face poses?
2. In the slums of Kenya and Brazil why do think JR chose women as his subject?
ACTIVITY 1 - WEEK 6 - CULMINATING TASK - 3 TIMES ME
STEP 1: Take 3 self images with posed faces, all 3 using different perspectives (angles), when taking the photos keep in mind the message you included on day 1 slide - I AM A PERSON WHO...
STEP 2: Upload the 3 images to your laptop and open in Photoshop Element.
STEP 3: Using the skills and tools you learned this week HEALING TOOL (use PATTERN and SAMPLE), BRUSH and ELLIPTICAL MARQUEE create an image incorporating the 3 funny face images. All 3 images must be present in one photoshop file. See sample on Photography Folder.
STEP 4: Create a new slide show and include the 3 original photos on one slide and the 3, include the I AM A PERSON WHO message on your slide.
Wednesday, 6 May 2015
WEEK 6 - DAY 3 - SMOOTH THE SKIN
use brush tool to modify graffiti background
use healing brush tool to even out skin tone
Today we are going to learn about the BRUSH TOOL and the HEALING TOOL. Using the self images we took yesterday we are going to smooth the skin, plump and colour the lips and smooth the graffiti brick background.
ACTIVITY 1 - SMOOTH AND PLUMP
STEP 1: Take few photos of yourself, or use yesterdays original image. Download your images to your laptop hard drive.
STEP 2: Download the graffiti background you want to incorporate into your photo.
STEP 3: Open your background graffiti and self image in Photoshop and make each image a layer.
STEP 4: Open and drag your self image layer into the graffiti image, adjust the size and positioning of your self layer.
STEP 5 - SMOOTH BRICK BACKGROUND: Using the BRUSH TOOL and ALT key to select a colour with the eye dropper and smooth the brick pattern.
STEP 6 - SMOOTH THE SKIN: Using the HEALING TOOL STAMP tool touch up around the eyes and smooth out the skin to give it a consistent look.
STEP 7 - PLUMP THE LIPS: Using the CLONE STAMP TOOL plump the lips.
STEP 8 - See sample in Photography folder.
use brush tool to modify graffiti background
use healing brush tool to even out skin tone
Today we are going to learn about the BRUSH TOOL and the HEALING TOOL. Using the self images we took yesterday we are going to smooth the skin, plump and colour the lips and smooth the graffiti brick background.
ACTIVITY 1 - SMOOTH AND PLUMP
STEP 1: Take few photos of yourself, or use yesterdays original image. Download your images to your laptop hard drive.
STEP 2: Download the graffiti background you want to incorporate into your photo.
STEP 3: Open your background graffiti and self image in Photoshop and make each image a layer.
STEP 4: Open and drag your self image layer into the graffiti image, adjust the size and positioning of your self layer.
STEP 5 - SMOOTH BRICK BACKGROUND: Using the BRUSH TOOL and ALT key to select a colour with the eye dropper and smooth the brick pattern.
STEP 6 - SMOOTH THE SKIN: Using the HEALING TOOL STAMP tool touch up around the eyes and smooth out the skin to give it a consistent look.
STEP 7 - PLUMP THE LIPS: Using the CLONE STAMP TOOL plump the lips.
STEP 8 - See sample in Photography folder.
Tuesday, 5 May 2015
WEEK 6 - DAY 2 - SELFIE HEAD SHOT
Today we are going to take some self images against a brick wall, remove part of the background, add the Friday graffiti shots as the new background and modify your eyes.
ACTIVITY 1 - Self Images
STEP 1: Take few photos of yourself, the background should be outside of the school against the brick wall. Download your images to your laptop hard drive.
STEP 2: Download the graffiti background you want to incorporate into your photo.
STEP 3: Open your background graffiti and self image in Photoshop and make each image a layer.
STEP 4: Open your drag your self image layer into the graffiti image, adjust the size and positioning of your self layer.
STEP 5: Using the ELLIPTICAL MARQUE TOOL select one eye, press CNTL T to stretch and tilt the eye so that it resembles a cats eye. Do this to the other eye as well.
STEP 6: Using the CLONE STAMP tool touch up around the eyes and modify the eyebrows to match the slop of your new cat eyes.
STEP 7: Using the SMART BRUSH TOOL - PHOTOGRAPHIC - NEUTRAL B+W setting to remove the colour from your cat face layer.
STEP 8: SAVE FOR WEB and add to WEEK 6 slide show as shown in sample in PHOTOGRAPHY folder.
Today we are going to take some self images against a brick wall, remove part of the background, add the Friday graffiti shots as the new background and modify your eyes.
ACTIVITY 1 - Self Images
STEP 1: Take few photos of yourself, the background should be outside of the school against the brick wall. Download your images to your laptop hard drive.
STEP 2: Download the graffiti background you want to incorporate into your photo.
STEP 3: Open your background graffiti and self image in Photoshop and make each image a layer.
STEP 4: Open your drag your self image layer into the graffiti image, adjust the size and positioning of your self layer.
STEP 5: Using the ELLIPTICAL MARQUE TOOL select one eye, press CNTL T to stretch and tilt the eye so that it resembles a cats eye. Do this to the other eye as well.
STEP 6: Using the CLONE STAMP tool touch up around the eyes and modify the eyebrows to match the slop of your new cat eyes.
STEP 7: Using the SMART BRUSH TOOL - PHOTOGRAPHIC - NEUTRAL B+W setting to remove the colour from your cat face layer.
STEP 8: SAVE FOR WEB and add to WEEK 6 slide show as shown in sample in PHOTOGRAPHY folder.
Subscribe to:
Posts (Atom)